There's something reassuring about the purr of a well-tuned engine, but when a high-pitched squeak interrupts the symphony under your car's hood, it's time to take action. That unsettling squeaking sound often points to a worn-out or misaligned belt. Before you rush to the auto repair shop, why not try your hand at fixing that pesky squeaking belt right at home? In this DIY guide, we'll walk you through the steps to silence the chirp and restore harmony to your engine bay.
Step 1: Safety First
Before you dive into any car repair task, it's essential to ensure your safety. Park your vehicle on a flat surface, engage the parking brake, and pop the hood. Remember, always let the engine cool down before touching anything under the hood to avoid burns.
Step 2: Diagnose the Culprit
Start the engine and carefully listen to the source of the squeak. Most commonly, it's the serpentine belt or one of the accessory belts (like the alternator or power steering) that's causing the commotion. A simple visual inspection can help identify cracks, fraying, or looseness in the belt. Keep in mind that the serpentine belt drives multiple components, so it's often the main suspect.
Step 3: Gather Your Tools
For this repair, you'll need a few basic tools: a socket wrench set, a pry bar, and a new belt if replacement is necessary. Refer to your vehicle's manual for the correct size of a socket wrench.
Step 4: Loosen Tension and Remove the Old Belt
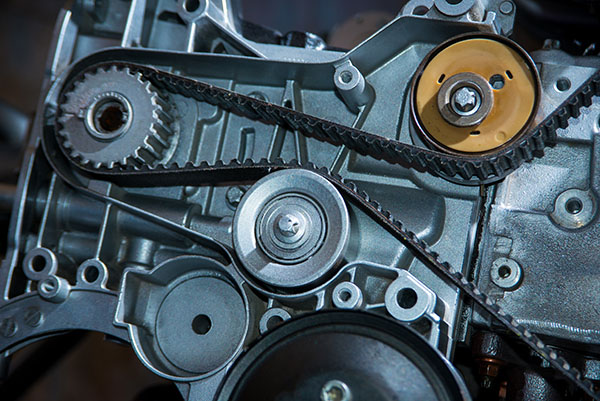
Locate the belt tensioner – a spring-loaded pulley – and use your socket wrench to release tension on the belt. Slip the belt off the pulleys, making note of the routing to ensure correct installation later. Now is also a good time to examine the pulleys for any debris or damage that might have contributed to the squeak.
Step 5: Install the New Belt
If the belt is showing significant wear, it's a wise choice to replace it. Refer to your vehicle's manual or online resources for the correct belt size and routing. Thread the new belt onto the pulleys according to the diagram, using the pry bar to help maneuver it into place. Make sure it's properly seated on each pulley to avoid future squeaking.
Step 6: Retention the Belt
Use your socket wrench to once again release the tension on the belt tensioner, then slide the belt over the tensioner pulley. Release the tensioner slowly, allowing it to apply pressure to the new belt. Double-check the belt's alignment and tension to ensure a snug fit.
Step 7: Test and Listen
Start the engine and listen for any signs of the previous squeak. If all goes well, you should be greeted with a harmonious hum instead of an annoying chirp. Rev the engine a bit to make sure the belt stays in place and maintains proper tension.
Step 8: Celebrate Your Victory
Congratulations! You've successfully silenced the squeaking belt and saved yourself a trip to the repair shop. Not only have you tackled a common issue, but you've also gained a sense of accomplishment and newfound confidence in your DIY car repair skills.
Having issues with the DIY project? We don't blame you! Fuller Automotive is here to help from Monday to Friday - just give us a call and we will have you in the shop in no time.